[gtranslate]



Roof-to-Wall and Window-to-Wall Sealant Transitions: Details That Stop Leaks


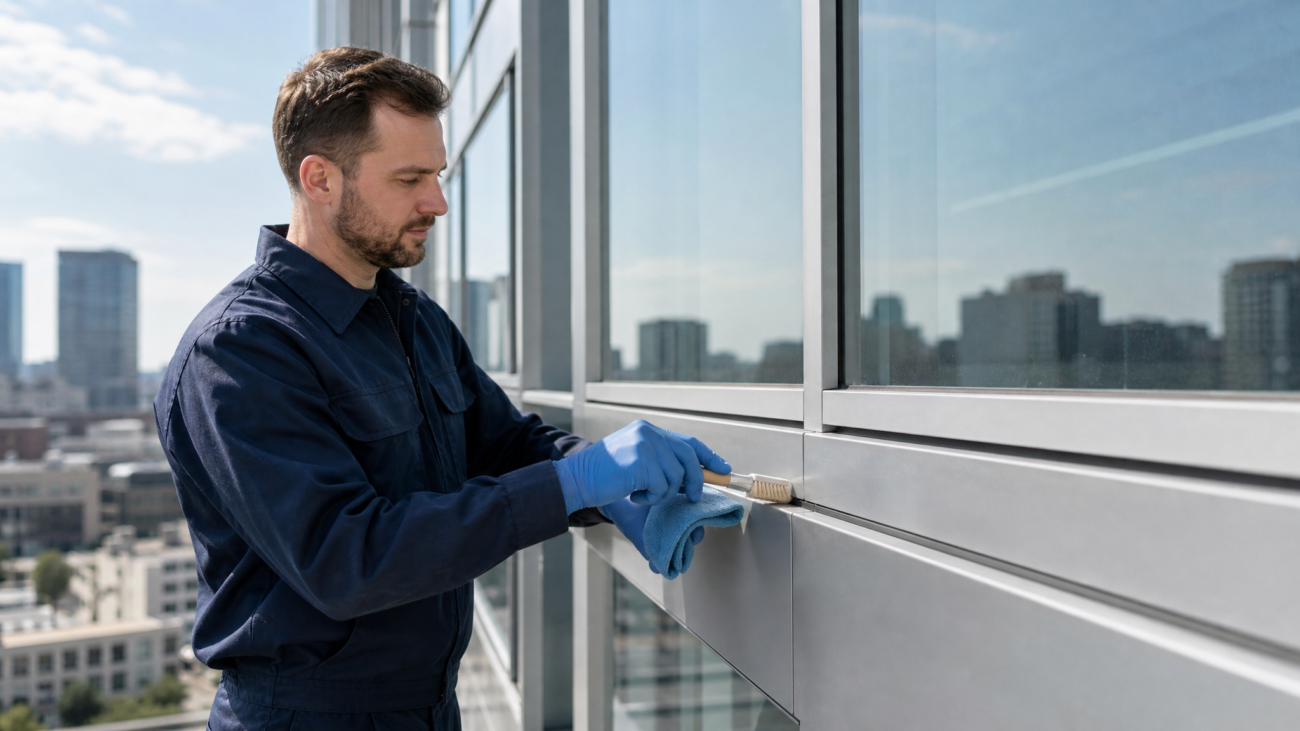
Water rarely enters a building through the middle of a panel. It enters at the junctions, and none are more exposed than roof-to-wall and window-to-wall sealant transitions. These details sit at the intersection of two substrates, two movement profiles and two trades — which is exactly why they fail first.
Why These Transitions Leak First
A roof-to-wall junction combines a warm roof surface with a vertical upstand, so the joint sees thermal movement in two directions at once. A window-to-wall joint does the same between an aluminium frame and a concrete or masonry reveal. Both are transition joints: the sealant has to absorb movement while bridging dissimilar materials with different coefficients of expansion. Where that is ignored, adhesion is lost long before the sealant itself degrades.
Roof-to-Wall: Seal Twice, Not Once
Treat the junction as a two-stage detail. First, a continuous backer rod and a weather seal at the outer face to shed bulk water. Second, a separate primary seal behind it, so a single point of failure does not become a leak path. Never tool the sealant into a sharp internal corner; a formed joint fillet and adequate joint depth give the bead room to extend and compress.
Window-to-Wall: Depth Matters More Than Width

Perimeter joints are usually narrow, so depth control matters more than width. Set the backer rod so the cured sealant keeps the recommended width-to-depth relationship, and keep the sealant clear of the frame’s drainage path. Sealant applied across a drained opening can block the escape route the window system relies on.
Material and Movement Class

Specify the movement class from the calculated joint movement, not from habit. For exposed transition details, a neutral-cure structural-grade silicone with proven movement capability and documented adhesion to both substrates is the safest baseline. Ask for adhesion test data on the real substrates on site: anodised aluminium, powder-coated metal, concrete and brick all behave differently.
Field Checks Before Handover
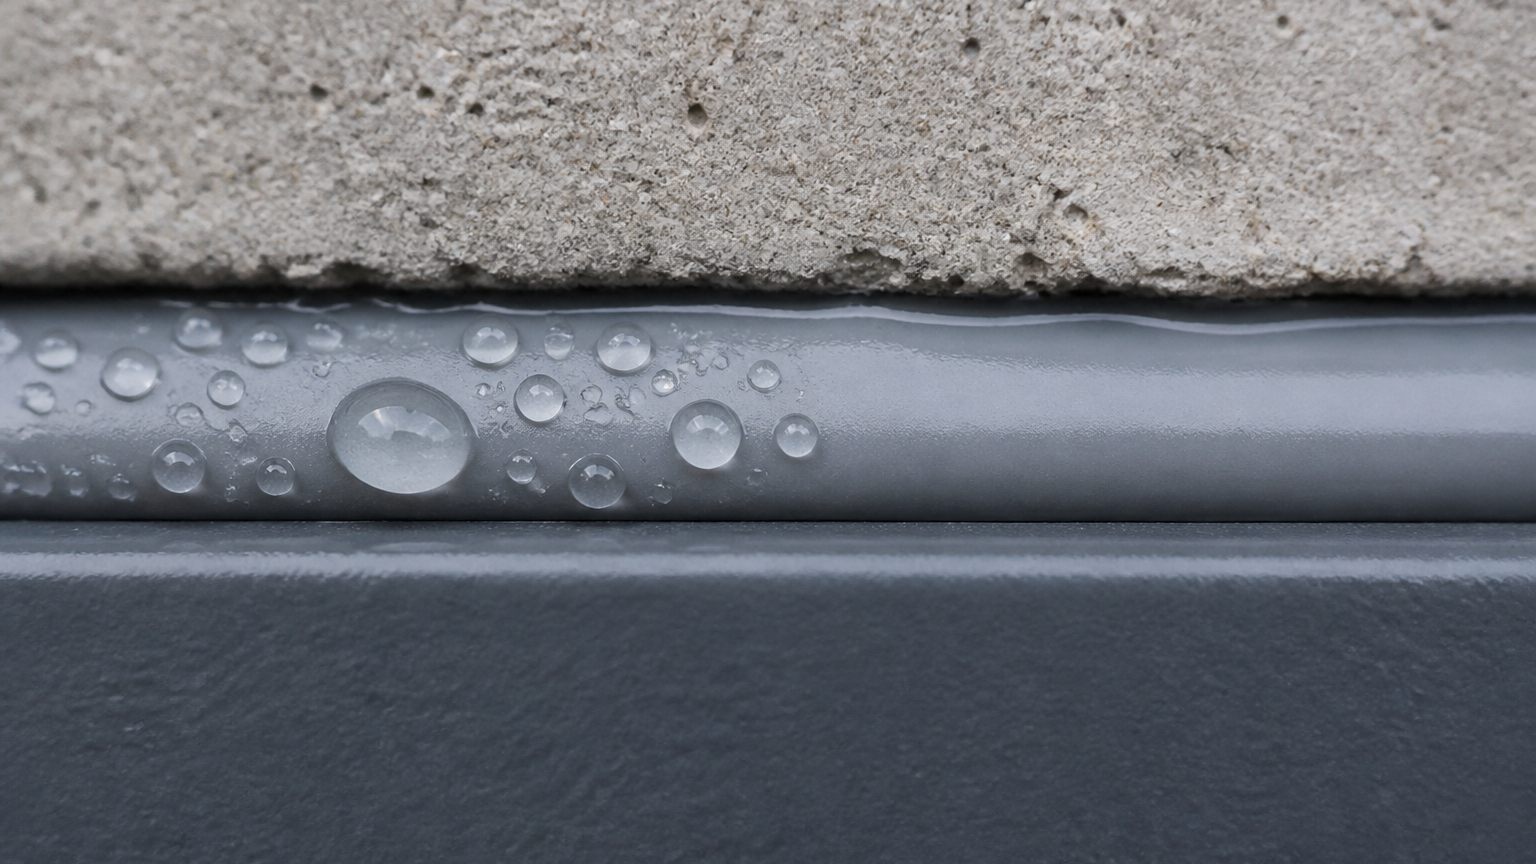
Verify joint dimensions against the approved detail, confirm full cure before water testing, and hose-test the transition while the assembly is still accessible. Document substrate preparation and primer use, because adhesion failures in transition joints are almost always preparation failures.
📧 info@sikenshop.com | 📱 WhatsApp: +8613780876997 | 🌐 sikenshop.com
Sealants for transition details
- 8700 movement-capable weatherproof sealant — for expansion and control joints in facades.
- 5000 sunroom and skylight sealant — for skylights, sunrooms and aluminium window joints.
- 6000 exterior wall weather-resistant adhesive — for exterior wall joint sealing and gap filling.
Specialty options
- BLD-811 construction polyurethane sealant — 20% movement capacity for floor, wall and metal frame joints.
- BLD-360 acrylic weatherproof sealant — low-modulus option for facade joints.
Products for this application
Specification pages for the products referenced above: